

Secret Weapon #1
Date: 26th November 2023
Author: Vincent Chen


Hello World, now, you’ve probably been wondering how we can do our pixel art. (If you have read some of our previous blogs) And as promised, we will share our first secret weapon. It’s only a few steps, so let’s get started! You will need to download the code we have placed underneath.
Step 1: Download PyCharm!
Go to jetbrains.com, follow the instructions and install PyCharm. Open PyCharm, and create a new code called “main.py”.
from PIL import Image, ImageDraw, ImageStat

size = 50

def create_circular_pixels_image(input_image_path, output_image_path, canvas_size=1500, grid_size=size):

    original_image = Image.open(input_image_path)

    original_width, original_height = original_image.size

    side_length = min(original_width, original_height)

    original_image = original_image.crop((0, 0, side_length, side_length))

    grid_width = side_length // grid_size

    circle_diameter = canvas_size // grid_size

    new_image = Image.new(“RGB”, (canvas_size, canvas_size), “white”)

    draw = ImageDraw.Draw(new_image)

    for x in range(grid_size):

        for y in range(grid_size):

            left = x * grid_width

            top = y * grid_width

            right = left + grid_width

            bottom = top + grid_width

            region = original_image.crop((left, top, right, bottom))

            median_color = ImageStat.Stat(region).median

            center_x = x * circle_diameter + circle_diameter // 2

            center_y = y * circle_diameter + circle_diameter // 2

            draw.ellipse([(center_x – circle_diameter // 2, center_y – circle_diameter // 2),

                          (center_x + circle_diameter // 2, center_y + circle_diameter // 2)],

                         fill=tuple(median_color))

    new_image.save(output_image_path)

input_image_path = ‘felix the cat.png’

output_image_path = ‘target.bmp’

create_circular_pixels_image(“felix the cat.png”, “target image.bmp”)
Step 2: Find your image!
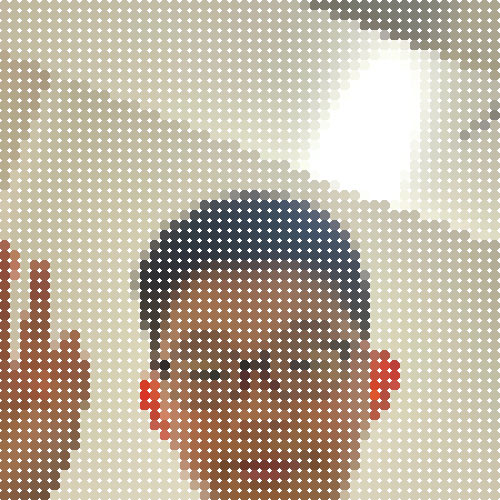
Go and find your desired image that you would like to pixelate then build. Move it to the same folder as your main.py file. Name it.
Step 3: Change the name in the file!
Download the file, and copy the code inside of it. Open your PyCharm, and inside of main.py, paste the code. Scroll down to line 38 and 41, and change the “input_image_path” variable to your image’s name(including the extension, such as “.png”)

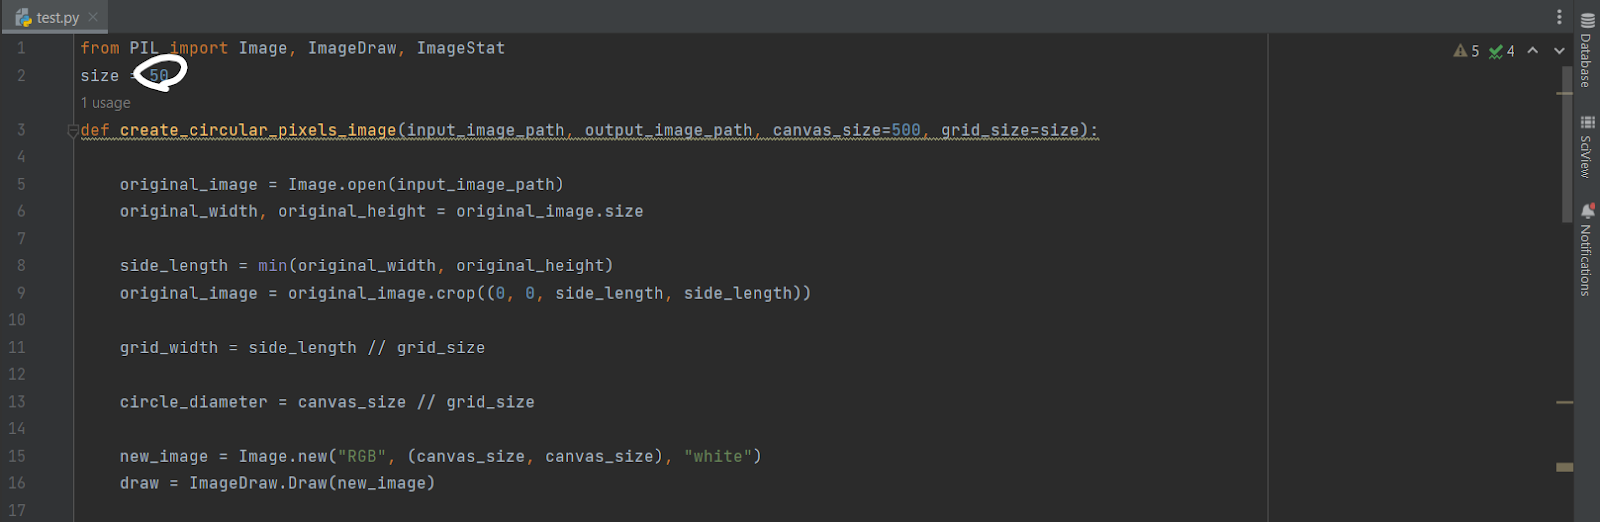
Step 4: Change the size of the image!
On line 2, there is a size variable that determines the dimension of the square pixelation. It is defaultly set to 50, meaning that it is 50 pieces by 50 pieces. You can increase or decrease this amount based on your preference.
Step 5: Go to settings
At the top right corner of the application, there should be a gear that represents the settings button. Click on it, and in the dropdown, click settings again.

Step 6: Find the installation menu
You now need to install PIL, which is a module. Go down to “Project:”. In my desktop, the name is PyCharm, but on your software, it will be whatever you named your file. Click on it.

Step 7: Press plus (+)
This step is exactly as it sounds.
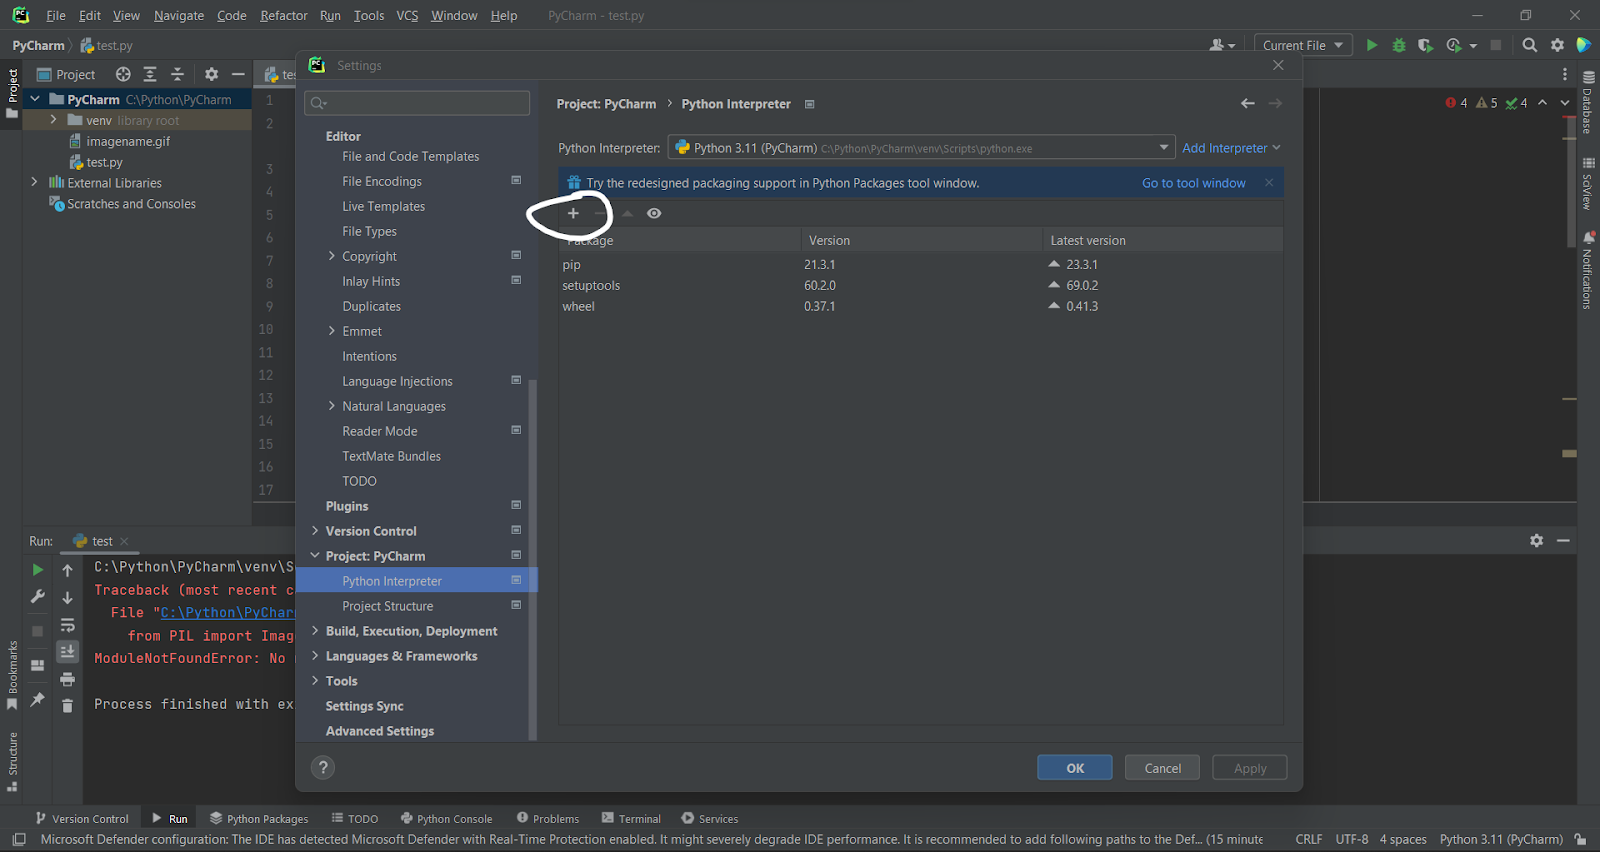
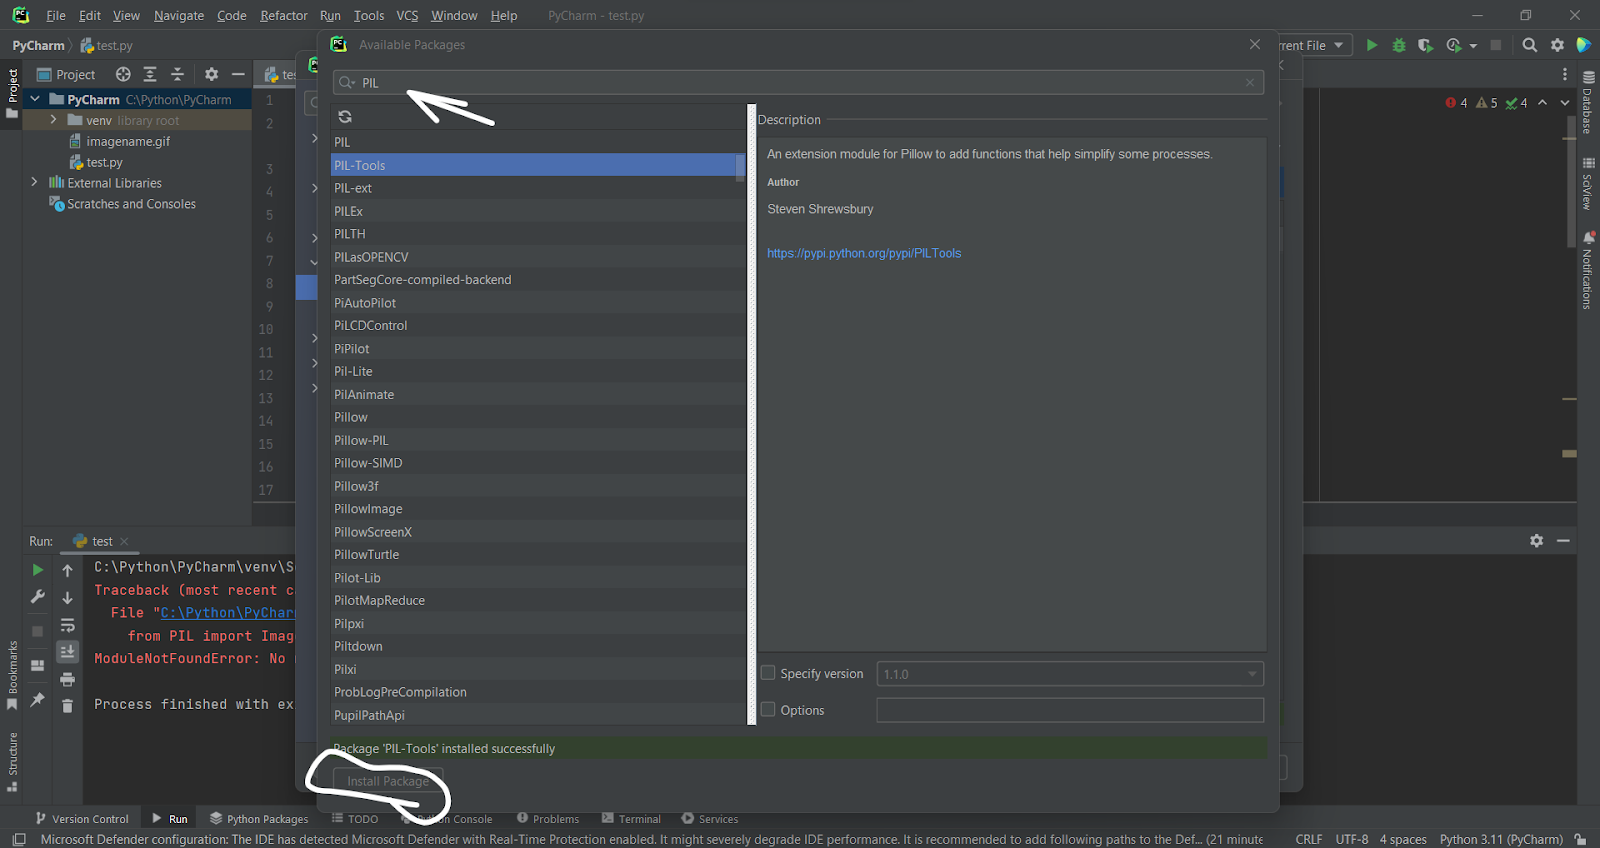
Step 8: Find PIL
Search PIL, and click the second option: PIL Tools. Then click install at the bottom, and wait. When it says downloaded, close the two popups.
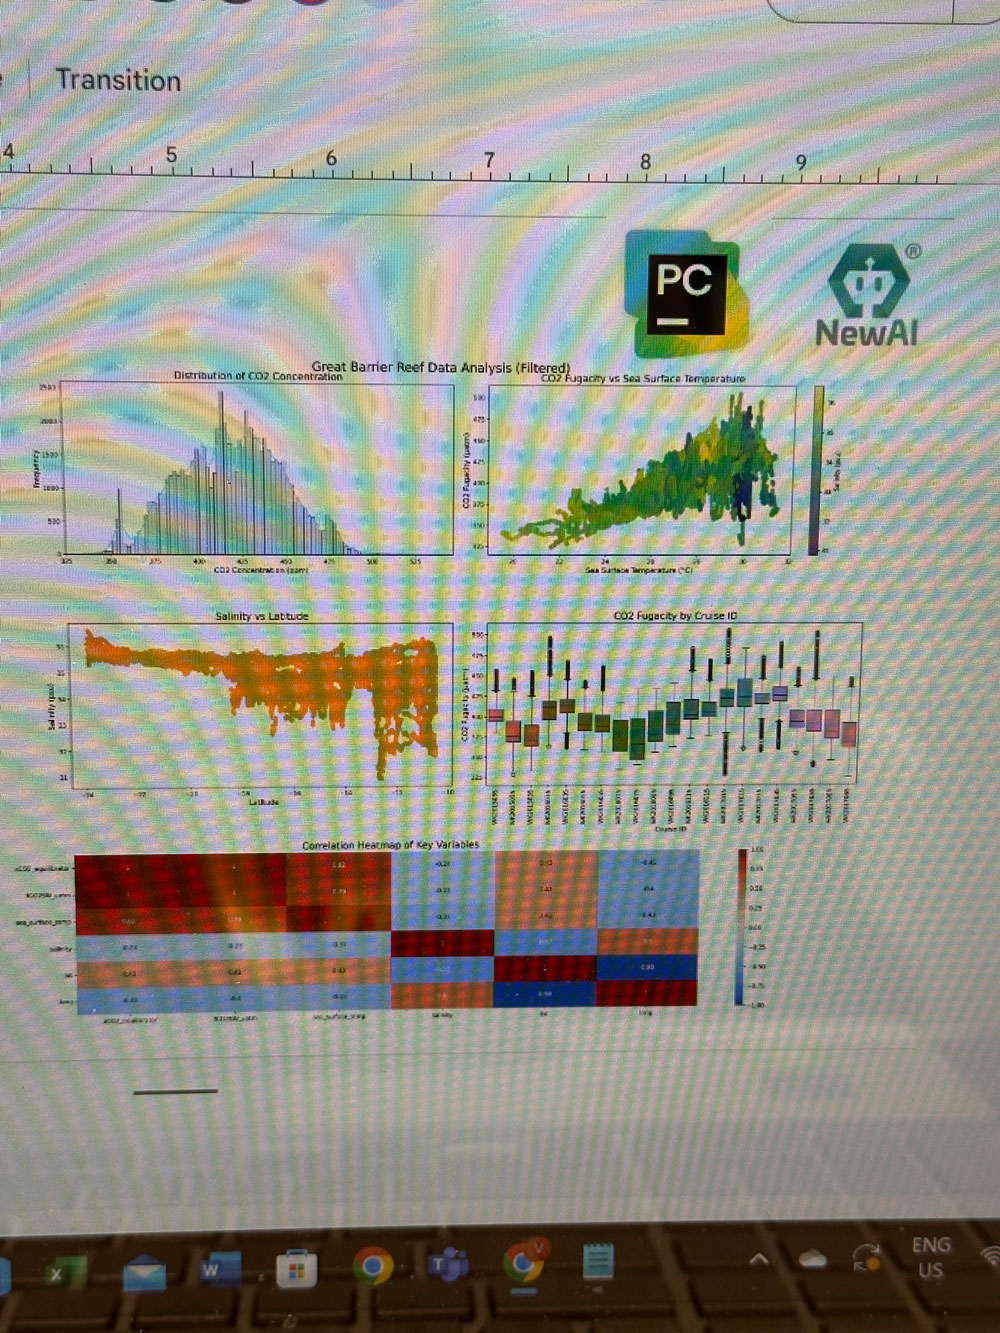
You have finished! Now, run the code! It will give you a new file- tap to preview!
Conclusion:
Pixelating the image can seem like a difficult task, however you can trust us. We will share our experience. And our secret weapon. Looks like our secret weapon isn’t secret anymore!
Leave a Reply